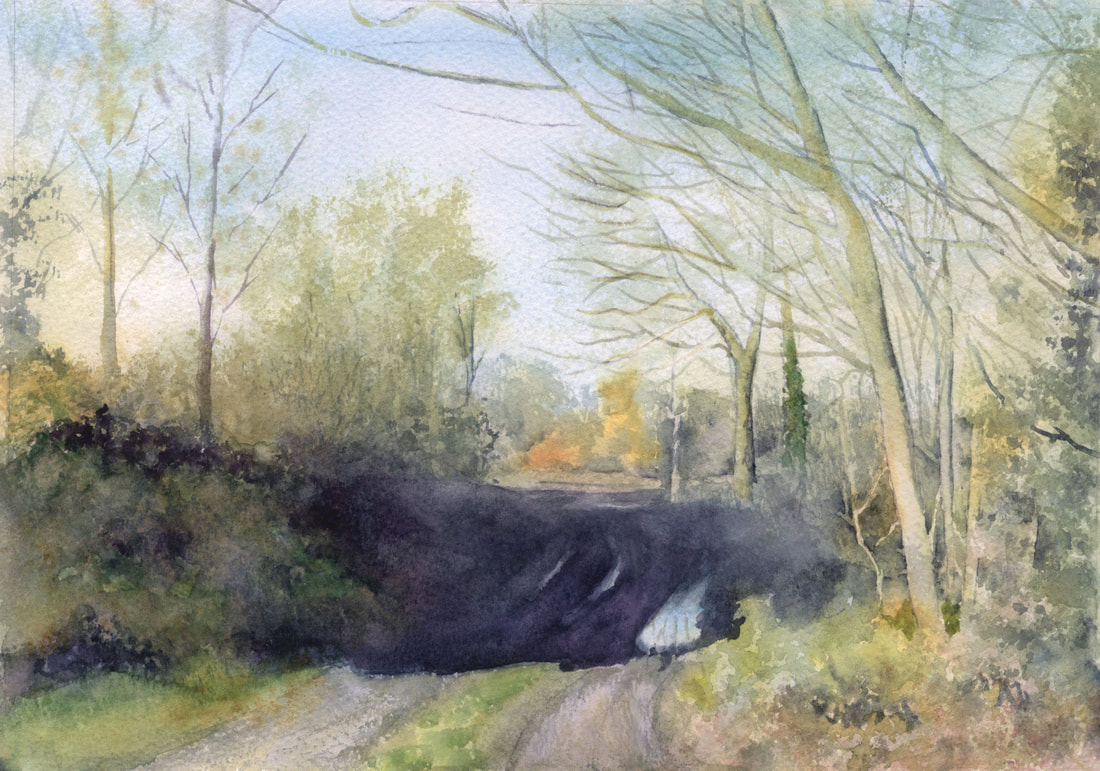
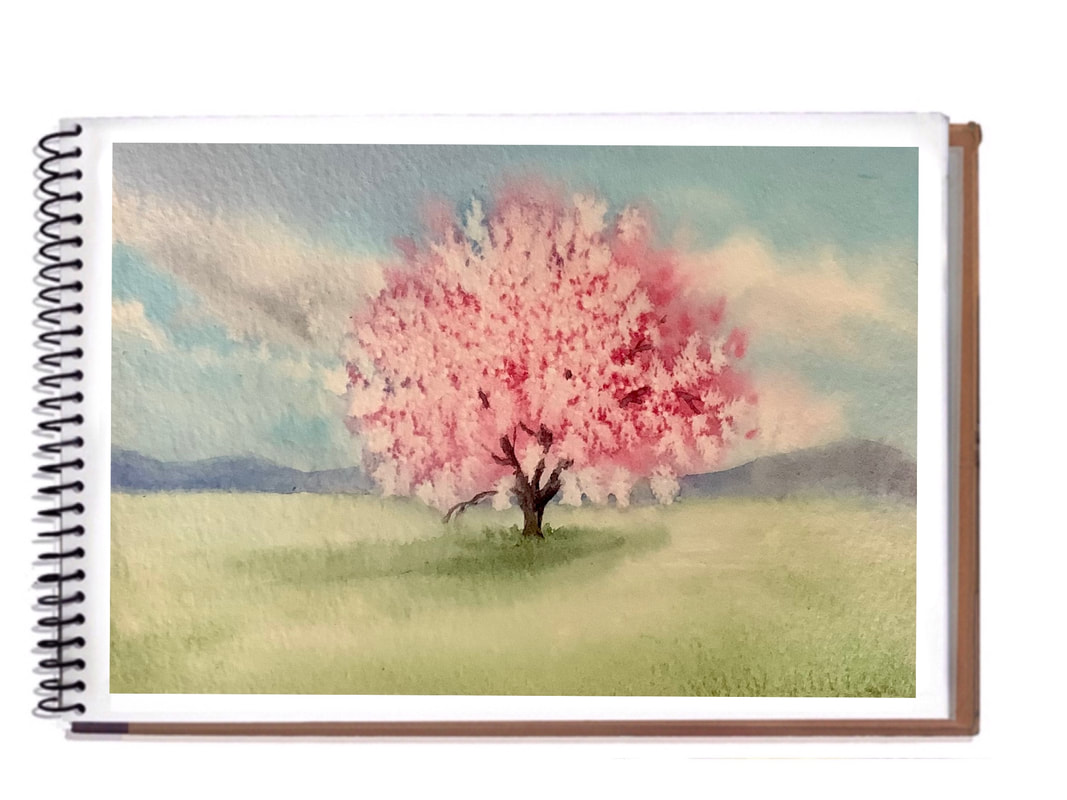
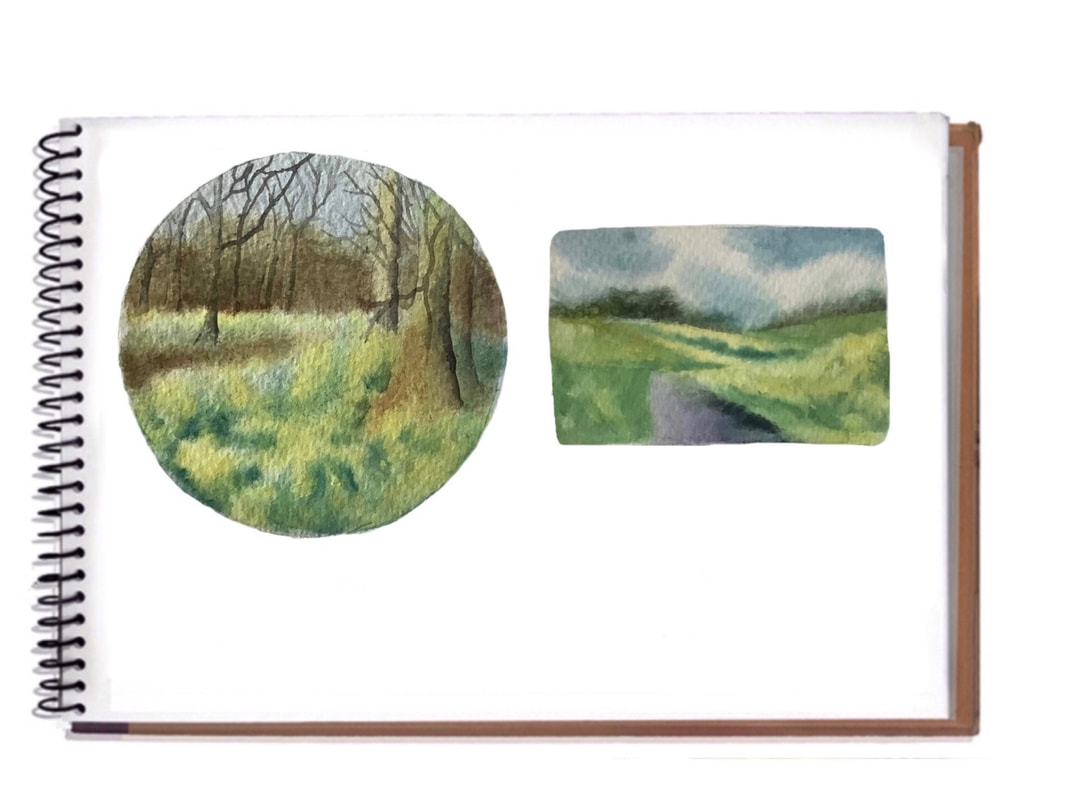
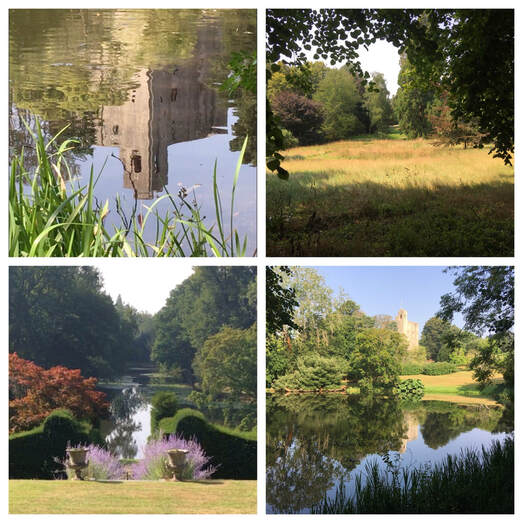
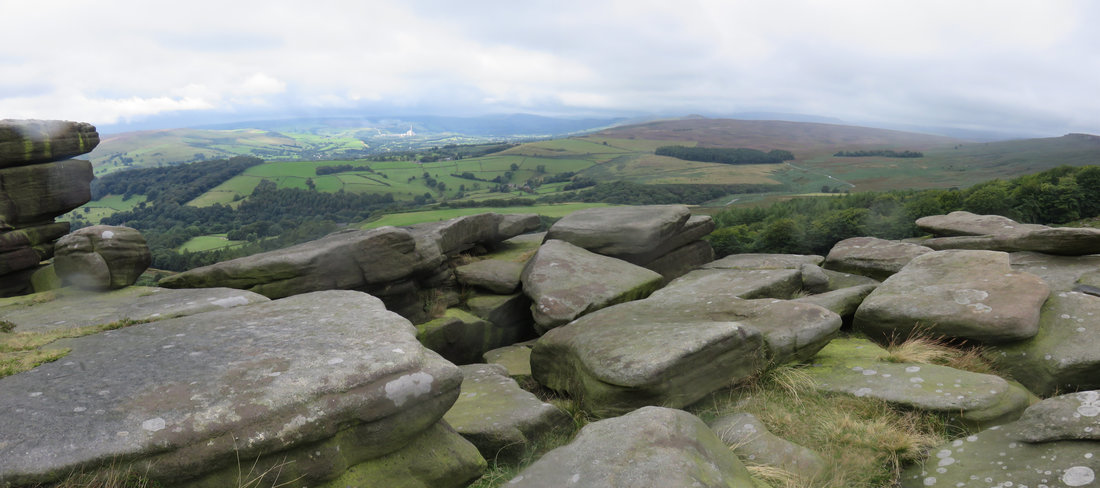
During the upcoming workshop we will explore the elements of the Suffolk landscape in spring.
Rather than working on just one finished piece I will demonstrate the different elements in small sketches/paintings (4" x 6") as there are so many different ways to render the same subject.
My intention is to do a landscape workshop in all four seasons, so you may wish to choose your favourite view and paint a version of it in each season.
Below are my notes for painting the landscape in winter, which I hope will be of interest to you, together with a list of recommended equipment to bring with you on the day. Feel free to print out my notes and add your own notes and observations.
Things to bring with you on the day:-
- Lots of paper, plus strips for testing.
- Paints, palette, water jars
- Brushes, sponges
- Pencil, rubber, ruler
- Reference photos of your favourite views and skies. If you have a tablet it might be handy to connect up to my wi-fi so we can share images on the day.
- Something to cover your table
- Masking fluid and applicators
- Masking tape to edge your pictures with
- Salt, wax, a piece of cling film, a piece of plastic (credit) card and spay bottle for textural effects
- Your lunch
WORKSHOP NOTES
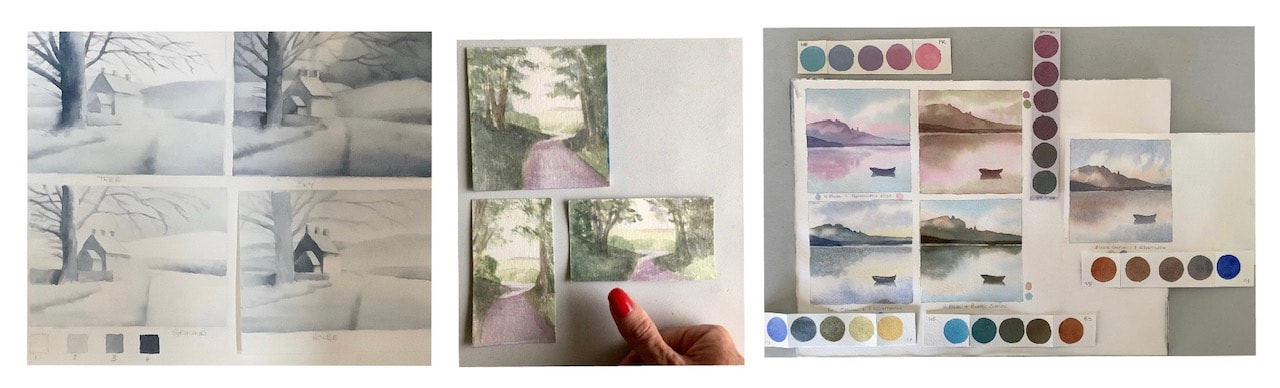
SIMPLIFICATION “Exaggerate the essential; leave the obvious vague”
Your reference picture should not be slavishly copied. By adding, subtracting and moving elements in the picture you will produce a piece of work that is individual and original.
Simplification is the technique of reducing a composition to only the most essential elements that support the visual statement. Unlike photography, where it is often impossible to control things that don’t support the composition, painters can move elements, enlarge them, reduce them or leave them out altogether.
This presents a challenge to lessen the impact of extraneous elements which could involve reframing, changing the view point, getting in closer or moving back (to diminish proportion), focus and other techniques to bring out the necessary elements to the picture.
The example below illustrates how different a picture would look if the elements were moved or exaggerated. In this example a mountain, a rock, a lake and a boat are rearranged in thumbnail sketches within the picture field to produce three entirely different perspectives depending on what the artist wanted to portray. All three pictures are believable; in each the artist could have been standing in a different spot.

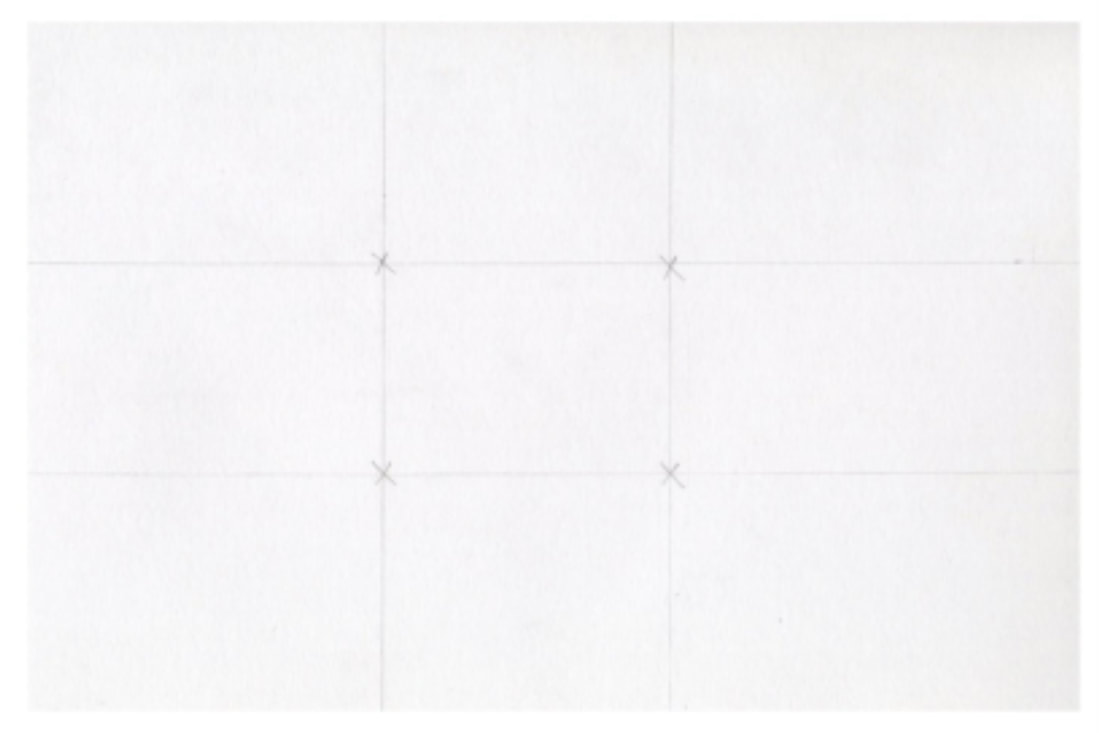
COMPOSITION - horizon line placement for emphasis.
Crop your view or reference picture to decide on a format.
Do thumbnail sketches to explore possible compositions, tonal contrasts and colour combinations. Keep them simple. Look for areas of the same tone and abstract them into light and dark. Using the paper as the lightest tone put in the mid-tones and then the darkest tones. Do no detail at this stage.
If you want to challenge yourself today instead of doing one painting try dividing your paper into four, focusing on a different focal point in each section. Or do three studies of the same subject - far off, near and macro.
Focal point - placement for emphasis.
Decide what will be your focal point. There should only be one, place this and other main divisional lines in accordance with the Golden Section (or Rule of Thirds).
Decide what will be your focal point. There should only be one, place this and other main divisional lines in accordance with the Golden Section (or Rule of Thirds).
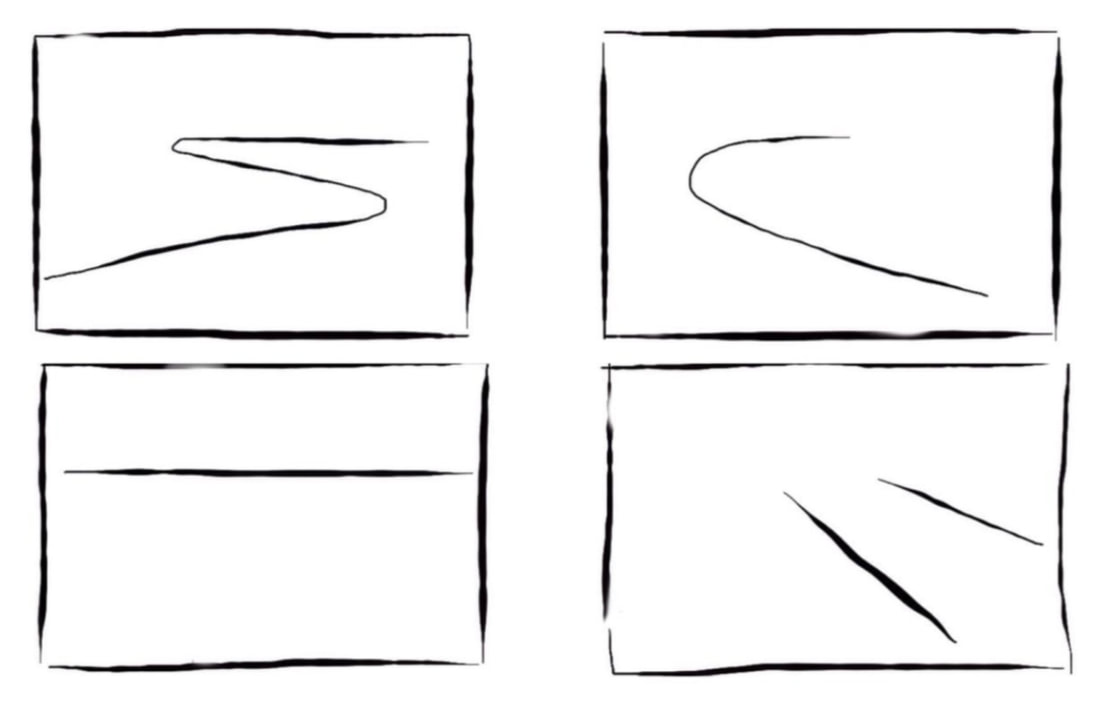
Lines and lead-ins - to direct the viewer's eye to the focal point and around the painting.
Think about lead-ins and lines that will lead the viewers’ eye in and around the picture. This can be achieved with lines whether real or implied, or with repeating colours or shapes.
Think about lead-ins and lines that will lead the viewers’ eye in and around the picture. This can be achieved with lines whether real or implied, or with repeating colours or shapes.
PERSPECTIVE
Perspective is created by dividing your picture into background, middle ground and foreground and treating each section accordingly. Tone, colour, edges, and perspective (both linear and aerial) contribute to a sense of distance and scale in your paintings. This is much more apparent when working from life rather than from photographs so if you are working from a photograph you may need to use your imagination.
Perspective is created by dividing your picture into background, middle ground and foreground and treating each section accordingly. Tone, colour, edges, and perspective (both linear and aerial) contribute to a sense of distance and scale in your paintings. This is much more apparent when working from life rather than from photographs so if you are working from a photograph you may need to use your imagination.
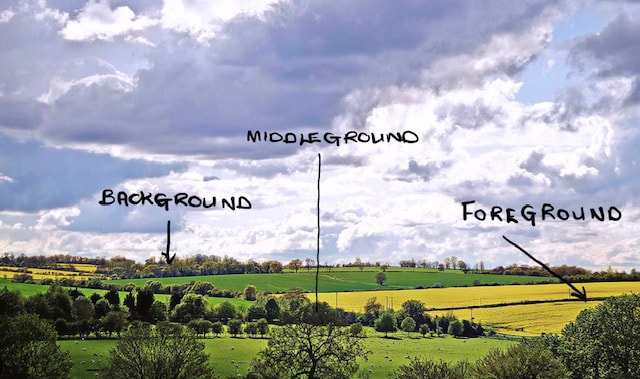
Background - Light tones and cool colours (blues, cool browns/greys, and violets) recede into the distance, no details should be visible and edges are soft. Shapes in the landscape are small – even mountains! Simplify areas using variegated washes or dropping colour in to add interest.
Middle ground – Tones are slightly darker (mid-toned) and colours slightly warmer but in winter browns may still appear cool. Edges appear less soft and start to become important in describing what an object in the landscape is. Shapes become larger.
Foreground – There is greater contrast in tones in the foreground. Try keeping your lightest light and darkest dark for the area surrounding your focal point to draw attention to it. Colours are warmer, particularly when compared to background colours. Edges in the foreground can be a combination of hard and soft, as well as lost and found. If the edges at the focal point are hard it will help it to stand out. The foreground (particularly the focal point) is the place for detail.
Plan counter change – light against dark (but remember to put light areas into darker ones and dark areas into lighter ones).
Think about what the main colour of your subject matter is and what the main colour temperature is. Keep the colours you use to as few as possible. Try contrasting intense colours (bright) against colours of lower intensity (muted) or contrasting warm/cool colours, using predominantly one with accents of the other.
FORM, LIGHT AND SHADOWS
Everything has form, with a light side and a dark side, but this is often overlooked. What effect does the light have on your subject matter? Is it giving hard or soft edges, detail or no detail?
Notice that the cast shadow is darker than the side of the object that is in shadow. Shadows are softer edged in less sunny conditions and will be softer the further away they are from the sun.
Look for and emphasise hidden colours especially in shadows.
Shadows also follow perspective so careful observation is needed.

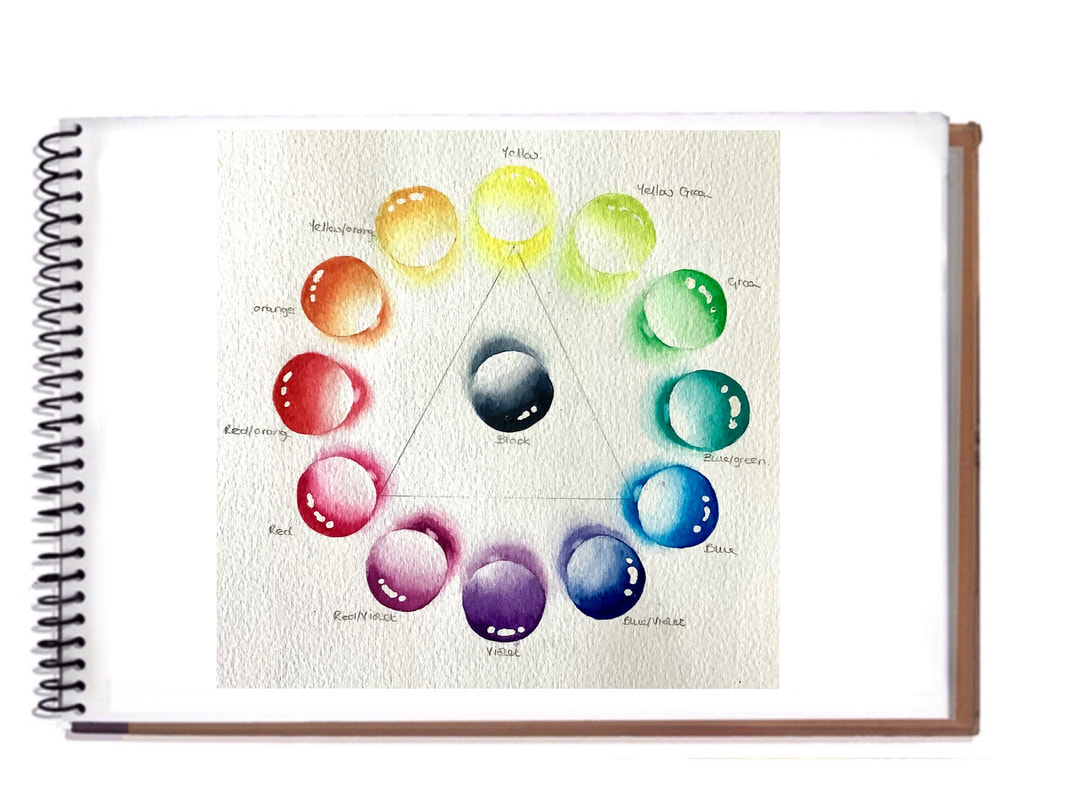
COLOUR - mixing primary colours to produce secondary colours (these make the more intense hues, especially greens, found at this time of year), and tertiary colours which act as a contrast to more intense colours.
No colour is absolute. As demonstrated below, colours are affected by light.
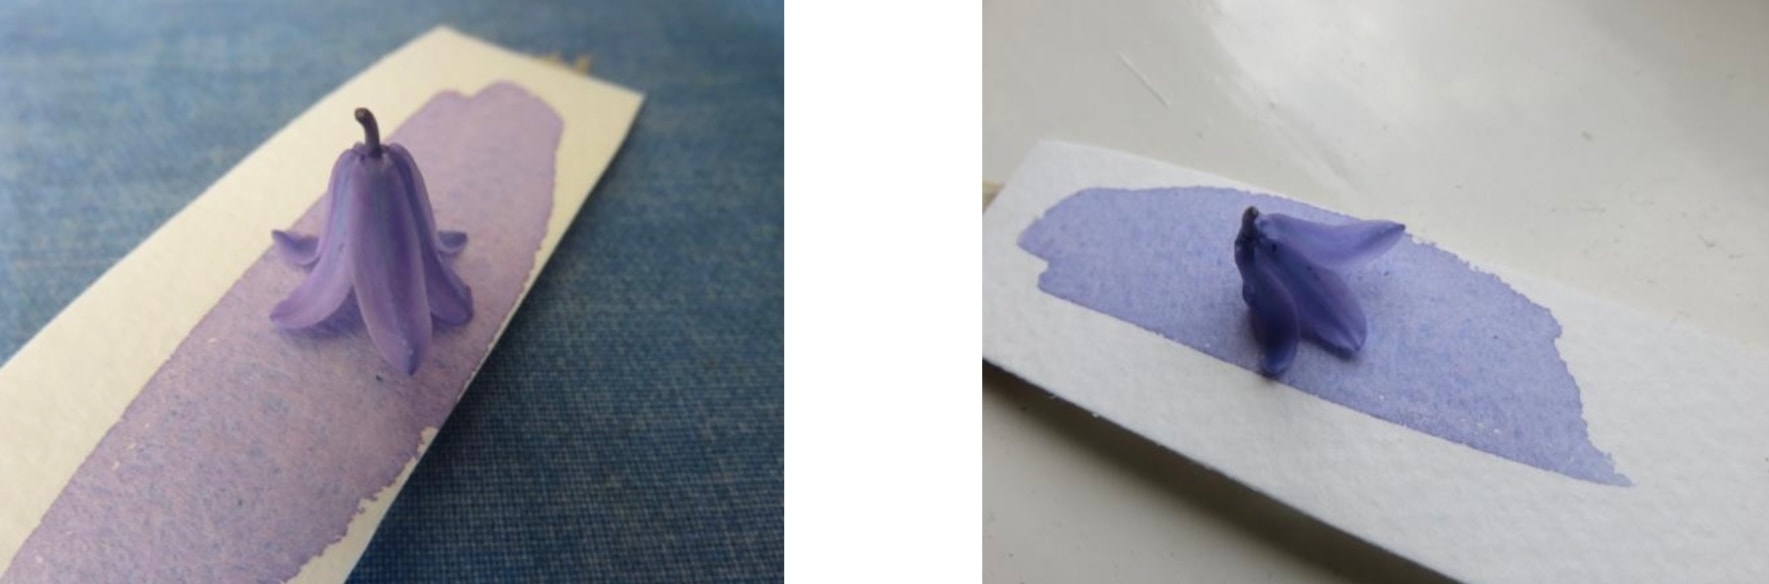
The bluebell and colour swatch above are the same in both photographs but the first was taken in artificial light and the second in natural light.
WHITES AND HIGHLIGHTS
Decide how to reserve the white or lightest parts of your picture.
Don’t forget to keep standing away from your painting to assess whether adjustments are needed to the tones, colours and focal point.
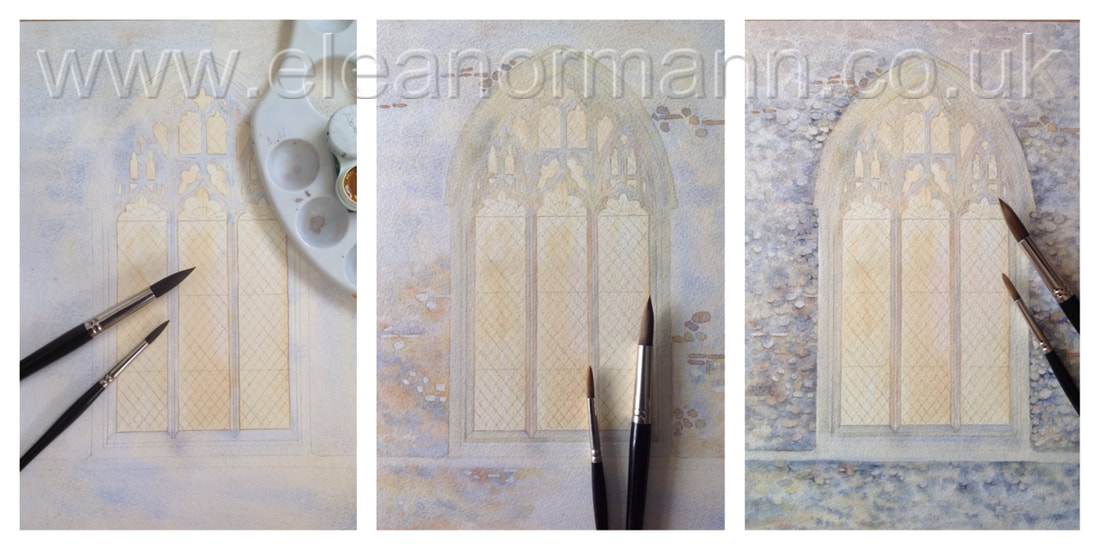
WASHES -
Graded wash of one colour.
Variegated wash - sometimes the first wash used over the whole landscape to create unity and establish an atmosphere.
Variegated graded wash - more difficult (but realistic) skies. Colours are influenced by the time of day ~ try warm to cool blues. Blues to raw sienna. Cool to warm = evening sky.
SKIES - use sky practice for trees and foreground practice
WHITES AND HIGHLIGHTS
Decide how to reserve the white or lightest parts of your picture.
Don’t forget to keep standing away from your painting to assess whether adjustments are needed to the tones, colours and focal point.
WASHES -
Graded wash of one colour.
Variegated wash - sometimes the first wash used over the whole landscape to create unity and establish an atmosphere.
Variegated graded wash - more difficult (but realistic) skies. Colours are influenced by the time of day ~ try warm to cool blues. Blues to raw sienna. Cool to warm = evening sky.
SKIES - use sky practice for trees and foreground practice

CLOUDS:- Follow perspective, large at the top of the picture, getting smaller and flatter as they recede towards the horizon.
Techniques for painting clouds:-
TREES and other foliage
Tree identification is easier when they get their leaves but still carefully observe the overall shape of the different species.
Techniques for painting clouds:-
- Lift out with a tissue or damp brush
- Wet-into-wet - and negative painting
- Wet-on-dry - softening edges as you paint
TREES and other foliage
Tree identification is easier when they get their leaves but still carefully observe the overall shape of the different species.

- How wide is the tree in relation to its height?
- How much of the trunk shows at the bottom?
- What shape does the canopy make?
- Notice the foreshortened branches and foliage coming towards/away from you.
- Which direction is the light coming from? Break the shapes down into one of the 3 basic shapes, and use tone to make them look 3D.
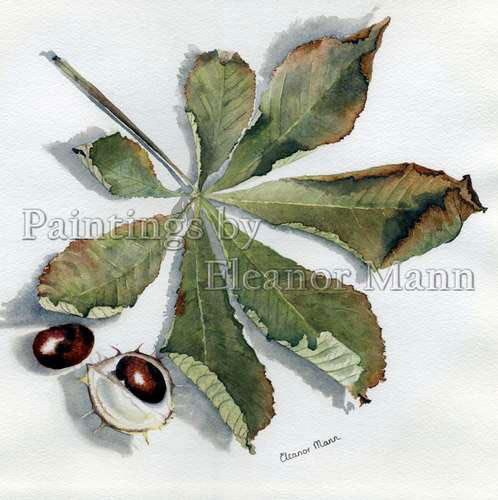
The deciduous trees/bushes/hedges start getting their new leaves around mid-March, which vary in colour, some are cool, yellow/green, and others look warm, oranges/reds - although the evergreen trees are still dark blue/green.
Paint detail only at the edges, where there will be more contrast in tone.
Soften the base of the trunk into the landscape, again so it does not look stuck on.
Tree trunks are not always brown. Carefully observe the colour - they can often be muted greens and greys.
What texture does the bark have?
Techniques used to paint trees/foliage -
- Wet-into-wet - variegated washes (especially for background trees). Granulating pigments are especially good as background trees painted wet-into-wet but don’t forget that distant trees, however green, are blued by aerial perspective.
- Wet-on-dry
- Sponge (but don’t use the same sponge for every species of tree you see).
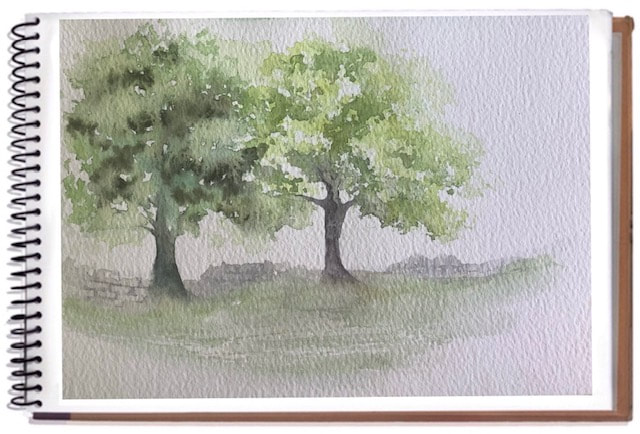
The sponge can be used in two ways, as demonstrated above. Lots of clean water was added to the paper with a sponge for the left hand tree, and while this was still wet I dropped in the various shades of green. The tree on the right was painted with the same sponge but the various shades of greens were premixed in the palette first and the sponge was just damp.
- The different ways to use a brush i.e. dry marks, or splayed bristles can be used to depict foliage.
- Salt (makes a nice texture for trees with blossom)
- Splatter - paint and/or water
- Dry brush - used to create general texture but also the fine new growth of the Weeping Willow.
- Negative painting - in the case of light toned trucks/branches
FOREGROUND DETAIL:-
Fields are filled with fresh green shoots of spring barley or corn. Rape fields are the first to flower yellow.
From around mid March the trees get their blossom (starting with Blackthorn and Cherry). Later, towards May, the woods are filled with Bluebell, Anemone Blanda and wild garlic.
Banks of Daffodils, Cowslips, and Primroses can be seen from around mid March. From May the banks are filled with Cow Parsley followed by Violets, Dog roses, wild Lupins and Foxgloves.
There doesn’t have to be detail in the foreground, especially if it detracts from your chosen focal point. Use textures and dropped-in colours in an otherwise dull foreground.
TEXTURES
Granulating/separating paints
Splatter (water or paint)
Sponge
Brush marks/dry brush
Wax
Salt
Cling film
Plastic card to scrape back or add paint
OTHER…Weather conditions:-
Rain
Muddy puddles/tracks
Cloudy skies, blue in the sunshine - but can still feel cold
WATER - always reflects the sky and surrounding elements.
ANIMALS
Hares
BIRDS
Song thrush
Green woodpecker
Nesting and eggs
INSECTS
Bees
Ladybirds


 RSS Feed